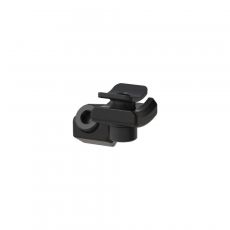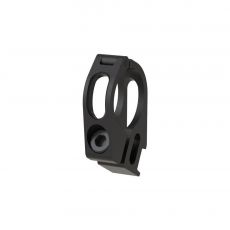


ONEUP DROPPER POST V3 Hissitolppa
Varastossa!
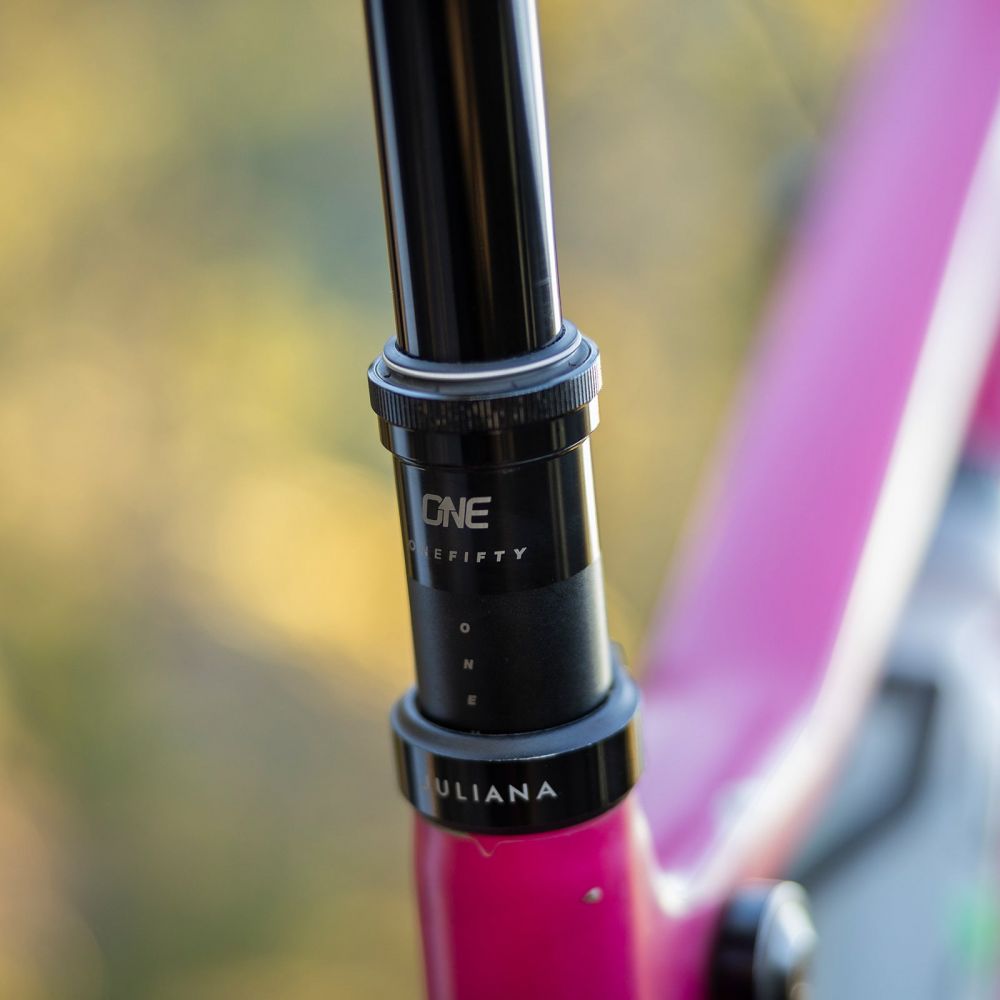
ONEUP DROPPER POST V3
Vihdoin meillä uudistunut Oneup V3 hissitolppa! Markkinoiden kevein, smoothein ja luotettavin dropperi.
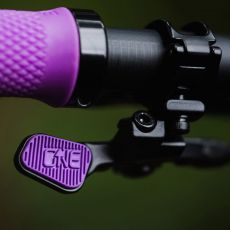
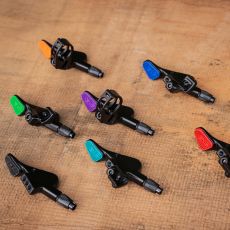
HUOM!! EI SISÄLLÄ VIPUA!
- Tolpan droppia voi lyhentää 10mm tai 20mm
- Tolpassa laadukkaat SKF:n tiivisteet
- Entistäkin lyhempi kokonaispituus
- Helppo säädettävä
- Helppo huollettava
- Toimii pakkasella
Kevyintäkin tolppaa voi keventää 10g titaani pultti kitillä:
https://eu.oneupcomponents.com/products/dropper-post-titanium-bolt-kit
Dropper Post - V3
HUOLTO!
On suositeltavaa suorittaa yläholkin puhdistus ja rasvaus 25 tunnin tai ajon välein, puhdistus ja rasvaushuolto 75-100 ajon välein ja täysi uusinta 250-350 ajon välein.
Kevyin, pisimmällä huoltovälillä varustettu, sulavin ja luotettavin dropper-satulatolppa, joka sopii pyörääsi.
V3 on markkinoiden kevyin portaattomasti säädettävä dropper-satulatolppa. Siinä on kilpailijoita lyhyempi kokonaispituus ja stack-korkeus, 20 mm säädettävä liukuvara, huippupitkä 350 tunnin huoltoväli sekä uudet erittäin alhaisen kitkan IGUS®-laakeriholkit ja SKF®-tiivisteet. Lisäksi voit keventää kokonaispainoa vielä 10 grammalla Titanium Bolt Upgrade Kit -titaniumruuvipaketilla.
Kevyin.
Tämä on markkinoiden kevyin portaattomasti säädettävä dropper-satulatolppa – jopa kevyempi kuin 2-asentoiset XC-spesifiset kevyttolpat. Sopii kaikenkokoisille ja -painoisille kuskeille sekä kaikkiin ajotyyleihin. Voit keventää vielä 10 grammaa Ti Bolt Upgrade Kit -titaniumruuvipaketilla.
Sulavin.
Tämä on paras dropperi, jolla tulet koskaan ajamaan. Satulan pudottamiseen tarvitaan 75 % vähemmän voimaa, ja erittäin alhaisen kitkan itsevoitelevat IGUS®-holkit sekä matalan kitkan SKF®-pölysuoja pitävät V3-tolpan liikkeen sulavana pidempään, vähemmällä huollolla.
Luotettavin.
Yksinkertainen ja varma vähähuoltoinen rakenne on erittäin helppo huoltaa kotona käyttämällä vain OneUp EDC -monitoimityökalua tai kolmea perustyökalua (14 mm lenkkiavain sekä 2 mm ja 5 mm kuusiokolo). Lisäksi suosittelemme huoltoa vasta 350 tunnin välein – poikkeuksellisen pitkä huoltoväli dropperille.
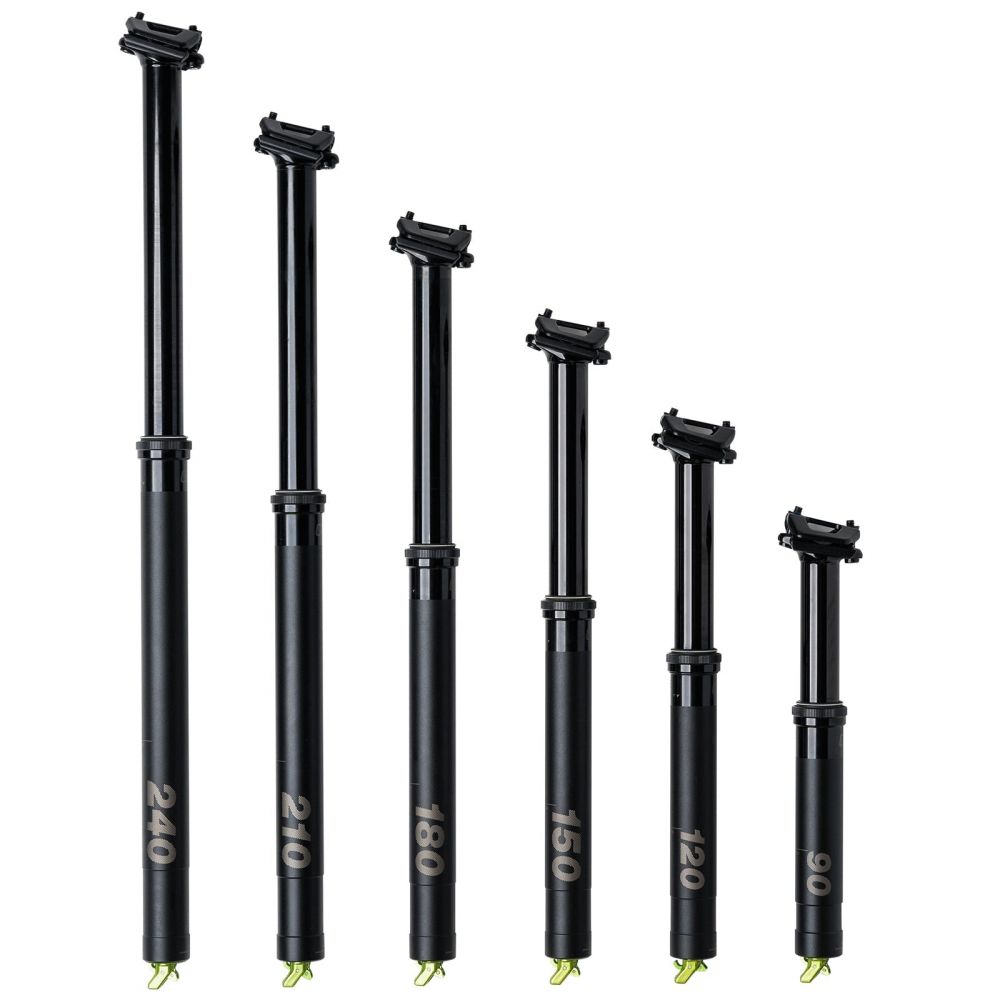
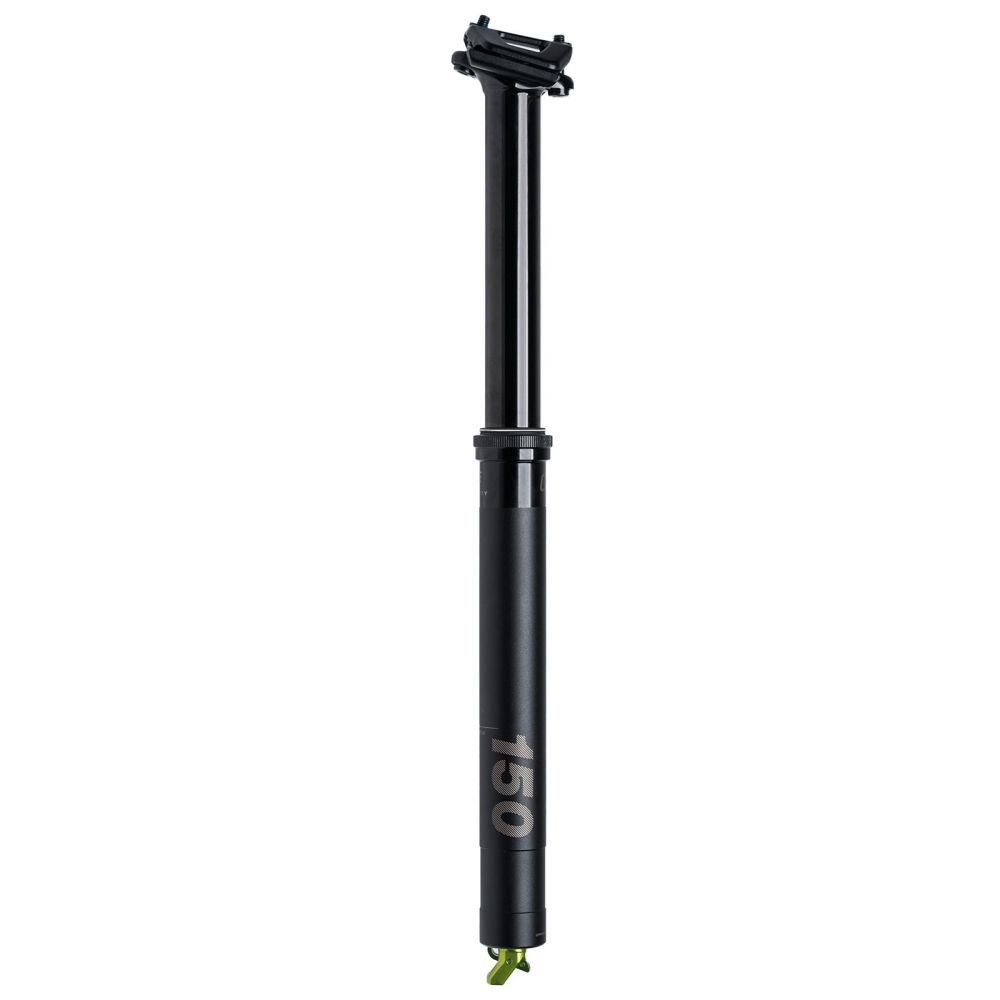
Droppi: 90 mm / 120 mm / 150 mm / 180 mm / 210 mm / 240 mm
Säädettävä liike: Tolpan liikematkaa voidaan lyhentää 10 mm tai 20 mm.
Purkautuneen tolpan korkeus: 30 mm (25 mm koossa 34.9).
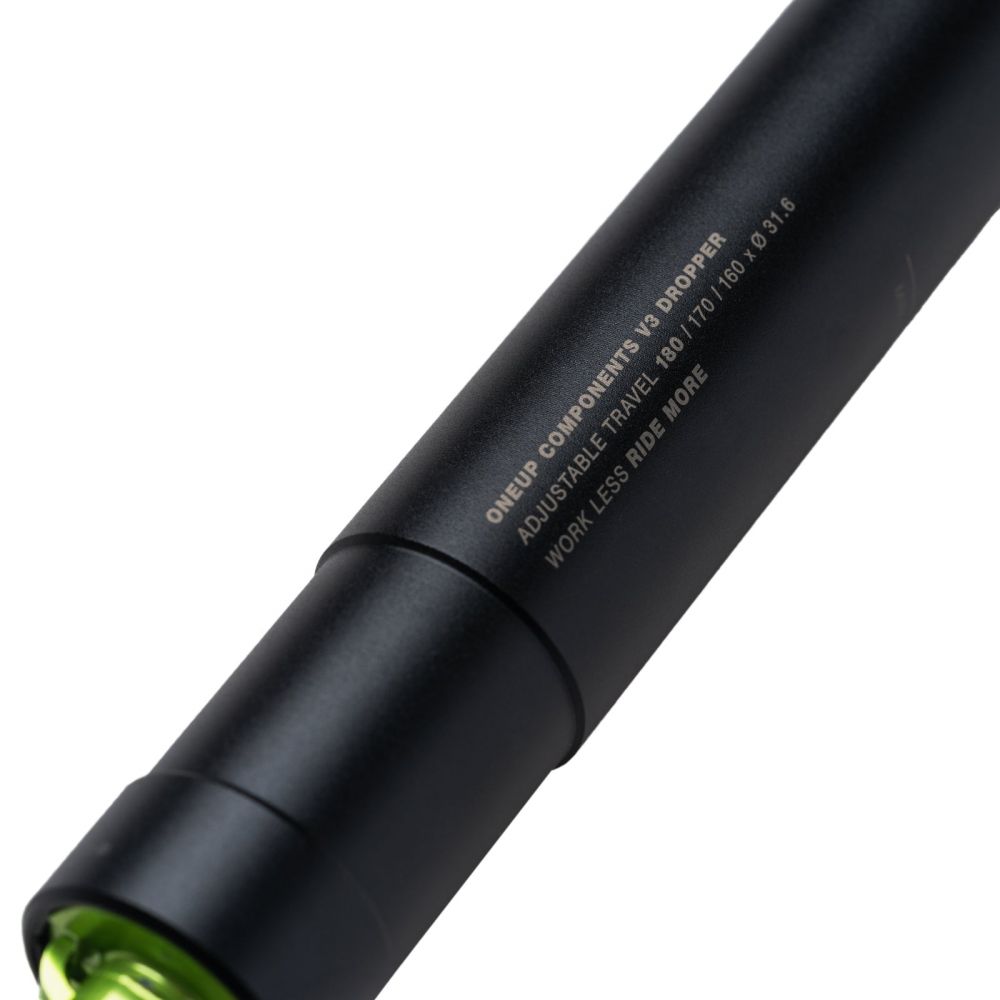
Halkaisijat: 30.9 / 31.6 / 34.9 / 27.2 mm (27.2 mm vain 90 mm & 120 mm dropeissa).
Paino:
-
27.2 mm: 90 mm – 304 g / 120 mm – 340 g
-
30.9 mm: 90 mm – 325 g / 120 mm – 370 g / 150 mm – 415 g / 180 mm – 460 g / 210 mm – 515 g / 240 mm – 585 g
-
31.6 mm: 90 mm – 337 g / 120 mm – 370 g / 150 mm – 433 g / 180 mm – 480 g / 210 mm – 538 g / 240 mm – 610 g
-
34.9 mm: 90 mm – 408 g / 120 mm – 472 g / 150 mm – 535 g / 180 mm – 600 g / 210 mm – 675 g / 240 mm – 765 g
Pakkauksen sisältö
1x Dropper Post – V3
1x Vaijerin pääholkki
1x Pussi kevyttä jousituksen rasvaa
2x Sarjaa 10 mm liikeradan lyhennyspaloja
Tärkeää tietää
2 vuoden takuu.
Säästä vielä 10 g Titanium Bolt Upgrade Kit -päivityksellä.
Pidemmät huoltovälit: 120 tuntia puhdistus ja rasvaus, 350 tuntia täyshuolto.
75 % pienempi liikkeellelähtövoima ja sulavampi toiminta verrattuna V2-malliin.
Tolppa voidaan purkaa ja huoltaa kokonaan kotona pelkällä OneUp EDC -multityökalulla alle 10 minuutissa (14 mm lenkkiavain, 5 mm kuusiokolo, 2 mm kuusiokolo).
OneUpin suljettu kasetti: ei tarvitse säätää tai lisätä ilmanpainetta.
Kokonaispituus on 10 mm lyhyempi ja puristunut korkeus 3 mm lyhyempi kuin V2:ssa.
Suurempi puslien limitys, IGUS®-puslat ja matalan kitkan SKF®-tiiviste.
Uusi OneUp-kasetti on 100 % kierrätettävä.
Need Sizing Help? Click Here →
V3 Dropper- liikeradan säätöohjeet
Tarvittavat välineet:
10 kpl liikeradan säätötappeja (sisältyvät dropperiin)
Slickoleum-rasva (sisältyy dropperiin)
Hihna-avain (kauluksen avaamiseen, jos käsin ei riitä)
Nukaton liina
Asennusaika noin 10 minuuttia. Vaikeustaso: Helppo.
Liikeradan säätö voidaan tehdä pyörän ollessa ajokunnossa – lähes ilman työkaluja, eikä satulaa tai iskaripumppua tarvitse irrottaa. Liikeradan lyhentäminen lisää puslien limitystä ja ohjaustappien pituutta, mikä on erityisen hyödyllistä painavammille kuskeille.
240 mm Dropper Post – säädettävissä 220 mm asti
210 mm Dropper Post – säädettävissä 190 mm asti
180 mm Dropper Post – säädettävissä 160 mm asti
150 mm Dropper Post – säädettävissä 130 mm asti
120 mm Dropper Post – säädettävissä 100 mm asti
90 mm Dropper Post – säädettävissä 70 mm asti
VAIHE 1: PURISTA DROPPER ALAS
Paina kaukosäätimen vipua ja purista dropperi suunnilleen puolivälin matkalle.

VAIHE 2: KESKIKAPSELIN IRROTTAMINEN
Kierrä mid cap -kokoonpano (8,9) auki käsin tai tarvittaessa hihna-avaimella. Liu’uta se sitten ylöspäin kohti satulatolpan päätä.

Paina kaukosäätimen vipua jatkaaksesi tolppaa ulos ja irrottaaksesi ylemmän holkin (10) alemmasta tolpan osasta. Liu’uta sitten holkki ylöspäin kohti satulatolpan päätä.

VAIHE 3: ASENNA LIIKERADAN SÄÄTÖTAPIT
Kun mid cap -kokoonpano (8,9) ja yläholkki (10) on siirretty sivuun, sinulla on vapaa pääsy viiteen liikeradan säätökanavaan.

10 mm liikeradan lyhennys: Asenna ensimmäiset viisi 10 mm liikeradan tappia (18) liu’uttamalla yksi tappia kutakin koloa kohti yläputken (1) ohjainkoloihin.
20 mm liikeradan lyhennys: Kun ensimmäiset viisi 10 mm tappia on paikallaan, työnnä sormella jokainen tappia varovasti ohjainkoloon, kunnes voit asentaa seuraavat viisi 10 mm tappia.

VAIHE 4: PURISTA DROPPER ALAS
Kun liikeradatapit (18) ovat omissa ohjainkoloissaan, paina kaukosäätimen vipua ja laske tolppa hitaasti puolivälin matkalle. Toiminnan tulee olla sulavaa. Jos liike tuntuu jäykältä tai vaatii voimaa, pysähdy ja tarkista, että liikeradatapit ovat oikein paikallaan ennen jatkamista.
VAIHE 5: RASVAA JA YLÄHOLKIN ASENNUS
Voitele yläholkki (10) sisältä ja ulkoa kevyellä jousituksen rasvalla. Voit myös levittää hieman rasvaa yläputkeen (1) juuri alemmasta putkesta (13) yläpuolelle. Liu’uta yläholkki takaisin yläputken päälle ja aseta se sitten alempaan putkeen painamalla sitä peukalolla ja etusormella. Sen tulisi näyttää kuvan mukaiselta.

VAIHE 6: KIRISTÄ MID CAP -KOKOONPANO
HUOM: Kun mid cap -kokoonpano on irrotettu alemmasta putkesta, dropperi voi ulottua pidemmälle kuin sen toiminnallinen maksimipituus. Varmista, että puristat dropperin puolivälin matkalle ennen kuin kierrät mid cap -kokoonpanon takaisin alempaan putkeen.
Kun yläholkki (10) on täysin asetettu alemman putken (13) sisään, liu’uta mid cap -kokoonpano (8,9) alas ja kierrä se käsin alempaan putkeen. Kun se on käsin tiukka, suosittelemme kiristämään sitä vielä hihna-avaimella.
VAIHE 7: TOIMINNAN TARKISTUS
Käytä tolppaa muutaman kerran varmistaaksesi sulavan liikkeen. Jos ylimääräistä rasvaa kertyy pölysuojaan (9), pyyhi se liinalla. Jos rasvaa on enemmän kuin tarpeen, se saattaa valua pölysuojan läpi muutaman käytön aikana. Tämä on normaalia. Jos havaitset ylimääräistä rasvaa pölysuojassa, pyyhi se pois, jotta se ei kerää epäpuhtauksia. Tämä ylimääräisen rasvan valuminen kestää yleensä vain pari ajoa.
Onneksi olkoon! Olet nyt onnistuneesti suorittanut V3 dropper -satulatolpan liikeradan säädön.
Nyt vain ajamaan!
Jos ilmenee ongelmia, tarkista ensin, että olet suorittanut kaikki yllä olevat vaiheet oikein.
Jos ongelmia edelleen esiintyy, lähetä sähköpostia osoitteeseen support@oneupcomponents.com. Liitä mukaan yksityiskohtainen kuvaus ongelmasta. Valokuvat ovat hyödyllisiä.
Kiitos,
OneUp
HUOLTO
Suositellaan tekemään yläholkin puhdistus ja rasvaus 25 ajotunnin välein, puhdistus ja rasvaushuolto 75–100 ajotunnin välein ja täysi uusinta 250–350 ajotunnin välein.
Tälle tuotteelle ei ole vielä annettu arvosteluita.